
This guide helps you perform a subcutaneous injection safely and confidently using clear and simple steps. You will learn how to prepare, inject, and care for the injection site while keeping the process calm and controlled.
Preparation Steps
Proper preparation reduces mistakes and keeps the process clean and safe from the start. Gather alcohol swabs, an insulin syringe, your medication vials, and a sharps container before you begin so everything is ready.
Clean your hands with soap and water, then set up on a clean surface that gives you space to work. Clean each vial top with an alcohol swab and prepare your medication carefully.

Draw the medication slowly and remove air bubbles by tapping the syringe and pushing out the air until a small drop appears at the needle tip.
Injection Sites
Rotating your injection sites prevents irritation and supports better absorption.
You can use the abdomen at least two inches from your navel, the front or outer areas of your thighs, or the upper outer part of your arms.
Keep at least one inch between each site during rotation to protect your skin and reduce tenderness.
Injection Technique
A steady injection technique helps you stay comfortable and ensures the medication is delivered correctly. Clean the chosen site in a circular motion and let it dry for about thirty seconds.
Pinch the fatty tissue gently and hold the syringe like a pencil. Insert the needle at a forty-five to ninety-degree angle in one smooth motion without aspirating.
Push the plunger slowly and wait five seconds when finished.
Remove the needle at the same angle and release the pinched skin before applying gentle pressure with gauze without rubbing.
After Injection
Caring for your tools and documenting your dose keeps your treatment safe and organized. Place the used syringe into a sharps container immediately without recapping.
Record the date, time, and injection site in your log so your rotation stays consistent.
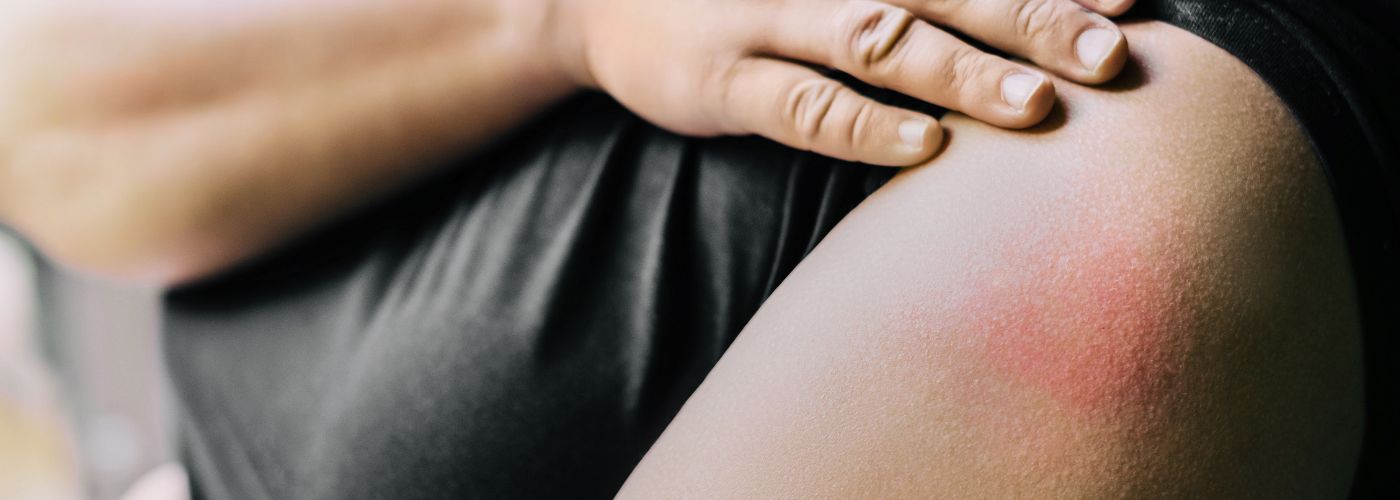
Look at the area later for redness or swelling since mild bruising can happen and usually fades within a few days.
Troubleshooting
Know when to act quickly if something feels wrong during or after the injection. Seek help if you notice major redness, strong swelling, fever, chills, or any allergic reaction symptoms like a rash or trouble breathing.
If bleeding occurs, apply firm pressure for a short time and expect the minor bleeding to stop quickly. If you see medication leaking, ensure the needle goes fully into the tissue next time and wait before pulling it out.
Change the needle if it feels dull because a sharp needle makes the process smoother and more comfortable.
Important Health Information
The information in this article is for education only and does not replace personal medical advice. Always consult a qualified healthcare professional before beginning any new exercise or nutrition program.
Individual needs can vary based on age, medical history, medications, genetics, and current fitness level. Progress will differ from person to person, and programs should be adjusted based on response and changing health.
If you experience chest pain, severe shortness of breath, dizziness, or unusual symptoms during exercise, stop immediately. Seek prompt medical care and guidance before returning to activity. Work with your healthcare team to monitor blood pressure, blood sugar, bone health, and other key markers.
With informed support and steady effort, building muscle can become a safe, powerful path toward a longer, healthier life.